3D World | 250
Future Publishing
Project Info |
Publication | 3D World
Issue # | 250
Issue Date | Sept. 2019
Lexicon | Publications
Created for | Future Publishing
Publication Specs |
Section | Expert Advice
Image Featured | Aperture
Page(s) | 54, 55
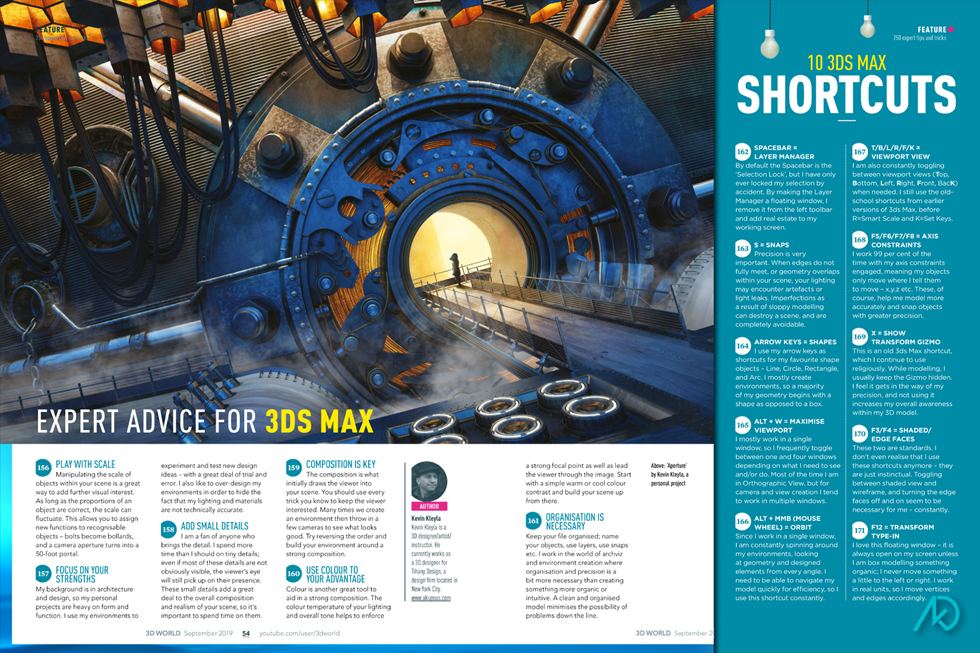
Responsibilities | Commissioned Article: Expert Advice for 3ds Max / 10 3ds Max Shortcuts
Description |
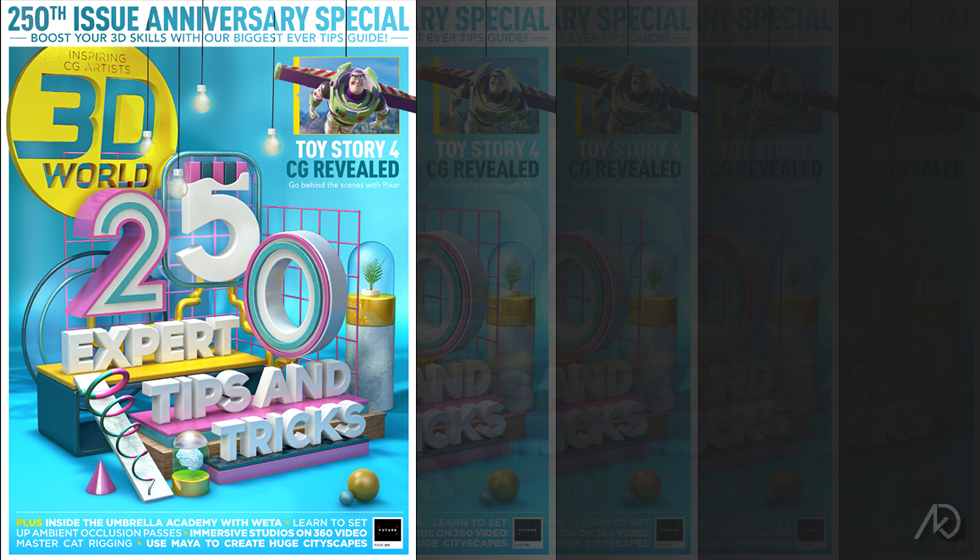
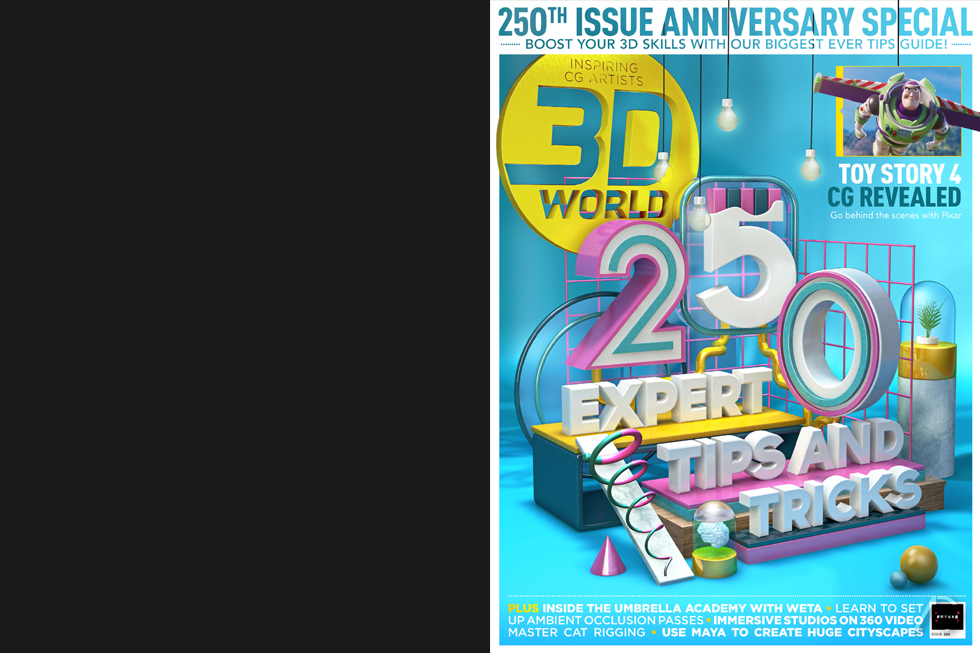
Aperture was published in the September 2019 issue, #250, of 3D World magazine; one of the top trade magazines for the 3D industry.
In order to celebrate the 250th Anniversary Issue while showcasing my project, Aperture, I was asked to contribute my 5 best pieces of “Expert Advice for 3ds Max.” For extra fun, I was also asked for my 10 favorite/most used computer “Shortcuts.”
My “Expert Advice” was not limited to the specifics of 3ds Max, but more my general advice for how I create while using the software. I also tried to relate my advice as it related to my current project, Aperture.
The “10 3ds Max Shortcuts” may tell my age, as most are leftover from previous versions of the software. My shortcuts also make it obvious that I place a great importance on precision and control. My explanations for why I use certain shortcuts try to elaborate on some of my general advice.
Expert Advice For 3ds Max |
Play With Scale |
Manipulating the scale of objects within your scene is a great way to add visual interest. As long as the proportions of an object are correct, the scale can fluctuate. This allows you to assign new functions to recognizable objects – bolts become bollards, and a camera aperture turns into a fifty-foot portal.
Focus On Your Strengths |
My background is in Architecture and Design, so my personal projects are heavy on form and function. I use my environments to experiment and test new design ideas – a great deal of trial and error. I also like to over-design my environments in order to hide the fact that I my lighting and materials are not technically accurate.
Add Small Details |
I am a fan of anyone who brings the detail. I spend more time than I should on tiny details that no one can or will ever see. Even if most of these details are not obviously visible, the viewer’s eye picks-up on their presence. The small details add a great deal to the overall composition and realism of your scene.
Composition Is Key |
The composition is what initially draws the viewer into your scene. You should use every trick you know to keep the viewer interested. Many times we create an environment then throw-in a few cameras to see what looks good. Try reversing the order and build your environment around a strong composition.
Use Color To Your Advantage |
Color is another great tool to aid in a strong composition. The color temperature of your lighting and overall tone helps to enforce a strong focal point as well as lead the viewer through the image. Start with simple warm/cool color contrast and build-up your scene from there.
Organization Is Necessary |
Keep your file clean and organized; name your objects, use layers, use snaps, etc. I work in the world of Arch-Viz and environment creation where organization and precision is a bit more necessary than creating something more organic or intuitive. Either way, I feel a clean and organized model minimizes the possibility of problems down the line.
10 Keyboard Shortcuts |
Space Bar = Layer Manager
By default the Space Bar is the “Selection Lock,” but I have only ever locked my selection on accident. By making the Layer Manager a floating window, I remove it from the left toolbar and add needed real estate to my working screen.
S = Snaps
For me, precision is very important. When edges do not fully meet, or geometry overlaps within your scene; your lighting solution may encounter artifacts or light-leaks. Imperfections as a result of your sloppy modeling can destroy a scene, and are completely avoidable.
Arrow Keys = Shapes
Strangely, I use my arrow keys as shortcuts for my favorite shape objects – Line, Circle, Rectangle, and Arc. I mostly create environments, so a majority of my geometry begins with a shape as opposed to a box.
Alt+W = Maximize Viewport
I mostly work in a single window, so I frequently toggle between one and four windows depending on what I need to see and/or do. Most of the time I am in Orthographic View, but for camera and view creation I tend to work in multiple windows.
Alt+MMB = Orbit
Since I work in a single window, I am constantly spinning around my environments – looking at geometry and designed elements from every angle. I need to be able to navigate my model quickly for efficiency, so I use this shortcut constantly.
T/B/L/R/F/K = Viewport View
While working in a single window, I am also constantly toggling between viewport views (Top, Bottom, Left, Right, Front, BacK) when needed. I still use the old-school shortcuts from earlier versions of 3ds Max; before R=Smart Scale and K=Set Keys.
F5/F6/F7/F8 = Axis Constraints
I work 99% of the time with my axis constraints engaged; meaning my objects only move where I tell them to move – x,y,z,etc. These, of course, help me model more accurately and snap objects with greater precision.
X = Show Transform Gizmo
This is an old 3ds Max shortcut, which I continue to use religiously. While modeling, I usually keep the Gizmo hidden. I feel it gets in the way of my precision, and not using it increases my overall awareness within my 3d model.
F3/F4 = Shaded/Edge Faces
This two are standards. I don’t even realize that I use these shortcuts anymore – they are just instinctual. Toggling between shaded view and wireframe, and turning off and on the edge faces seem to be necessary for me – constantly.
F12 = Transform Type-In
I love this floating window – it is always open on my screen. Unless I am box modeling something organic; I never move something a little to the left or right. I work in real units, so I move vertices and edges accordingly.
 Akueous Design

